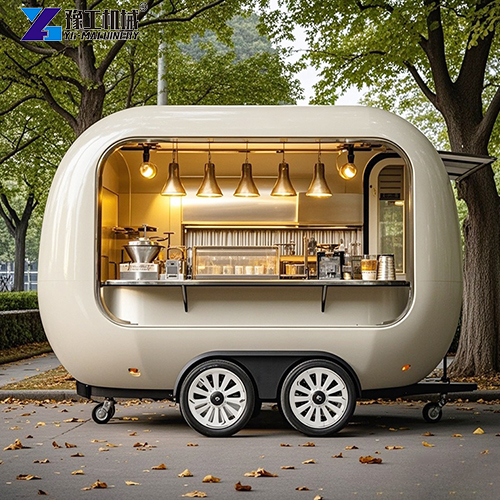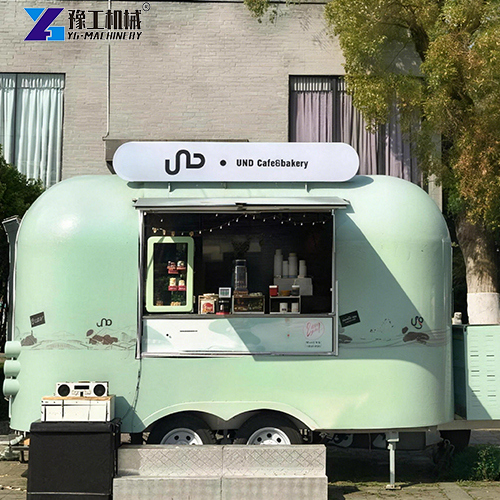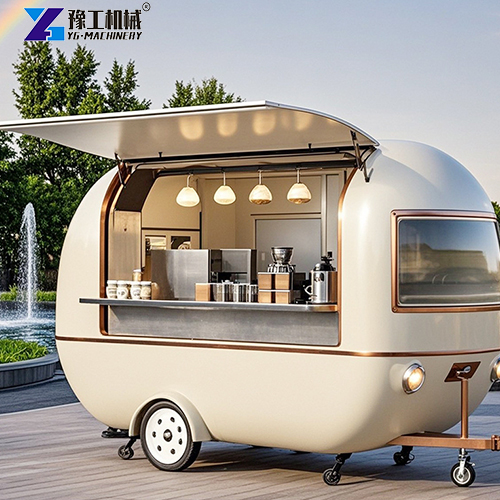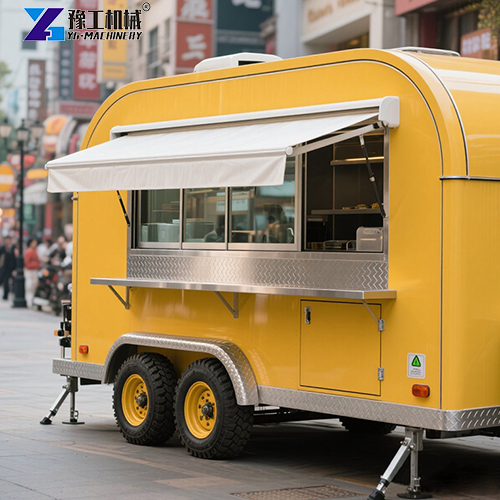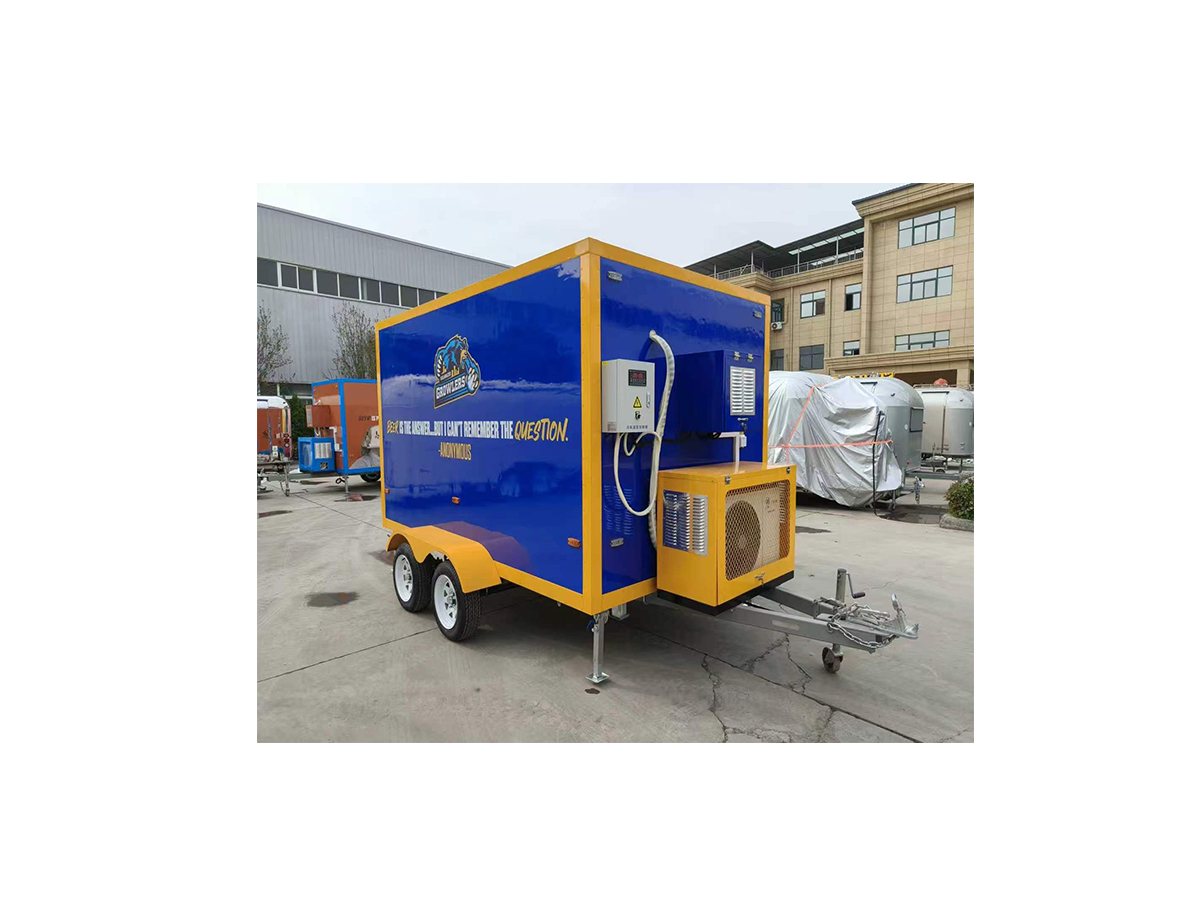
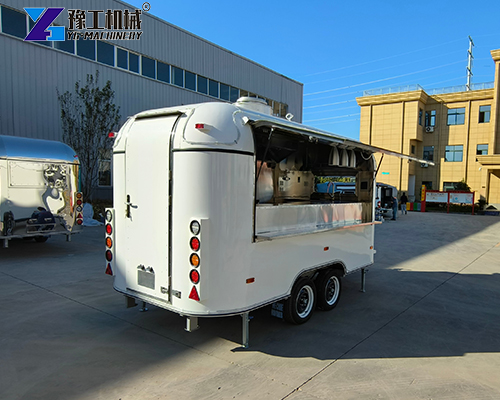
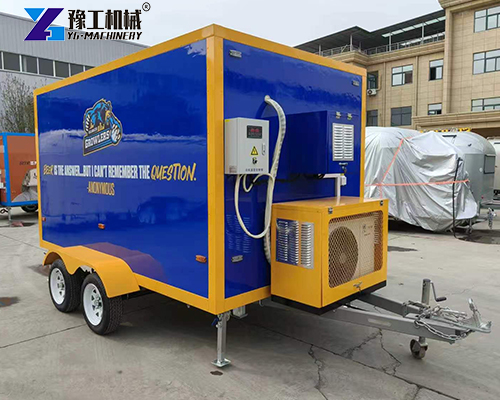
The physical space inside a small mobile food trailer is usually strictly limited to between 6×10 feet and 8×20 feet. In such a tight mobile kitchen, “space layout” directly determines your “profit ceiling.”
Many new entrepreneurs, when customizing their trailer, only focus on whether the equipment fits, but overlook the employee’s operational workflow (Workflow). During peak hours, two or three workers keep bumping into each other in the narrow aisle, reaching for ingredients and blocking each other, with smoke and water splashes mixing together. As a result, a dish that should take 1 minute to finish gets delayed to over 5 minutes. This not only loses queuing customers but also severely limits the trailer’s daily revenue.
To achieve “ultra-fast service during rush hours” in a tight space, the core is a one-way assembly line (One-Way Assembly Line). This article will break down in detail the golden zoning and efficient workflow design rules for the four core areas inside your trailer.
Scientific Division of the Four Golden Zones for a Small Mobile Food Trailer
To ensure food safety, meet Health Department compliance requirements, and achieve ultra-fast service, the interior of a small mobile food trailer must clearly define four functional zones:
1. Front of House / Service Area (Cashier & Pickup)
The service window is the only channel where the trailer interacts with customers. If you don’t separate them, ordering and waiting customers will crowd together and cause chaos.
- Physical location: The service window facing the front side or the main operation side of the trailer.
- Layout rule: Strongly recommend a “dual-window” or “single-window, two-station” separated design – order and pay on the left, pick up and pack on the right.
- Equipment & details:
POS system: Install a mobile POS terminal or tablet, with a receipt printer and barcode scanner.
Pickup shelf: Place a stainless steel shelf under the window for takeout boxes, bags, napkins, straws, and single-serve sauces.
Holding warmer: You can install a small infrared heat lamp (Heat Lamp) at the pickup window to keep the food at just-cooked temperature when handed to customers.
2. Refrigeration & Prep Zone
This is the transit point where ingredients move from “raw state” to “pre-prepared” and must be placed right next to the cooking area.
- Physical location: Between the service area and the cooking zone, as the front end of the assembly line.
- Layout rule: Use a combined space-saving mode of “cutting on top, refrigerating below.”
- Equipment & details:
Prep Table with Salad Top: The top has chilled food pans for cut vegetables, sauces, and cheese right at hand; the lower section is a refrigerator for backup ingredients.
Vertical racks: Install stainless steel wall racks above the prep table for common seasoning bottles, sauce guns, and measuring cups – so you can “grab without bending, reach without moving.”
3. Cooking & Assembly Zone
This is the “heart” of the mobile vending trailer, and the area where heat, smoke, and noise are concentrated.
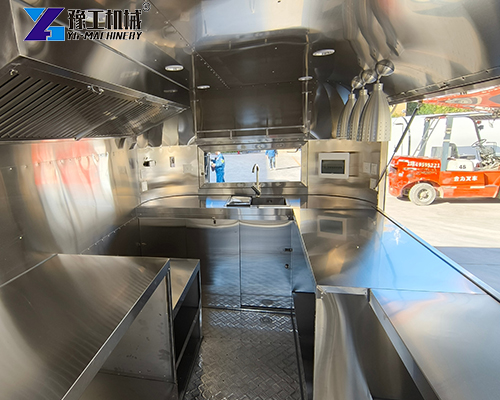
- Physical location: The middle-rear of the trailer; must be fully covered by a Commercial Range Hood on the ceiling.
- Layout rule: Follow the principle of “group hot equipment together” and “cooking ➔ assembly one-way flow.” Example of sequential arrangement: Griddle ➔ Fryer ➔ Assembly/Heat-holding table.
- Equipment & details:
Hot equipment coordination: The griddle is for searing meat and stir-frying; the fryer is for frying sides. After cooking, the chef only needs to move one step sideways to finish plating and saucing on the assembly table.
Splash guard: Between the fryer and griddle, or between the fryer and assembly table, you must install a 12-inch-high stainless steel splash guard to prevent hot oil from splashing into other ingredients.
4. Washing & Sanitation Zone
This zone is critical for Health Permit certification and is the top focus of health department inspections.
- Physical location: The rear of the trailer or a separate corner away from the cooking area – must not overlap with the food prep area.
- Layout rule: Ensure “separate water lines” to avoid dirty water splashing onto ingredients ready for sale.
- Equipment & details:
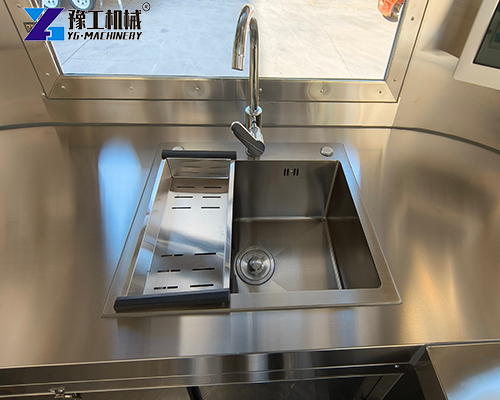
3-Compartment Sink: For “soak/wash ➔ rinse ➔ sanitize” of utensils. The size of each compartment must be large enough to hold the biggest baking sheet or food pan used in the trailer.
Hand Wash Sink: Health codes require a separate hand sink with a sensor or foot-pedal faucet, disposable paper towel dispenser, and soap dispenser – never mix it with the dish sink.
Pump & hot water system: Install a heavy-duty pump and a Tankless Water Heater inside the lower cabinet to ensure hot water at the right temperature is always available for washing.
3 Workflow Optimization Rules to Boost Service Speed
In the extremely limited space of a portable food trailer, how do you get 2-3 workers to collaborate efficiently? Follow these golden workflow rules:
1. The One-Step Rule
A simple way to judge if your small mobile food trailer layout is good: “At their station, each worker should be able to complete 80% of their daily tasks by reaching out or moving no more than one step.”
- Chef station: Grab chilled meat with the left hand, drop it into the pan; grab a spatula with the right hand, and after cooking, push it directly to the assembly plate on the right.
- Packing station: Reach up to get a box, receive the food, pack it, and hand it out the window – no turning around to find tools.
2. Strict One-Way Assembly Line – No Cross-Traffic
The worst enemy of an assembly line is “backflow.” If the packer has to walk behind the chef who is searing meat just to grab a box, it not only creates a safety hazard but also instantly disrupts the cooking rhythm.
- Ingredient flow: Cold storage ➔ prep table for cutting ➔ griddle/fryer for cooking ➔ holding table for assembly ➔ out the window.
- Keep everything one-way; each person stays at their own station and never walks back and forth frequently in the narrow aisle.
3. Extreme Use of Vertical Space (Vertical Storage Magic)
Leave floor and counter space for operations; use wall and ceiling space for storage.
- Wall-mounted stainless steel shelves: Install shelves with lips along both sides of the hood and the roof edges for lightweight items like boxes and napkins.
- Magnetic racks: Install magnetic knife bars and sauce bottle holders on the cooking zone walls to “hang” frequently used tools and free up counter space.

3 Deadly Mistakes to Avoid in Small Mobile Food Trailer Layout
1. Improper aisle width planning: The golden width for the central aisle is 30-36 inches (about 75-90 cm). If narrower than 30 inches, two workers cannot pass each other; if wider than 36 inches, workers have to take extra steps when moving between equipment on both sides, which tires them out over a full day.
2. Placing cold and hot equipment right next to each other without insulation: Never place a prep table refrigerator directly against a fryer or griddle just to save space! The radiant heat will overload the refrigerator’s compressor, increasing power consumption and causing it to fail to cool – which could lead to health department warnings or fines. Leave at least 6 inches of gap between them, or install a professional stainless steel heat shield.
3. Ignoring weight distribution: Your trailer is meant to be towed. When planning the layout, heavy equipment (like a large generator, full water tanks, twin-basket fryer) cannot all be stacked on one side – otherwise, the center of gravity shifts during driving, increasing the risk of Jackknife or rollover.

From Blueprint to Profit
A good workflow = higher throughput = doubled revenue. Before you officially order the trailer build, it’s wise to tape out the trailer outline and equipment sizes on the floor at 1:1 scale, invite your team members to run a real service simulation, and identify any workflow bottlenecks in advance.
Feel free to contact our design team for a 3D small mobile food trailer workflow and utility layout plan that meets FDA & health department standards!